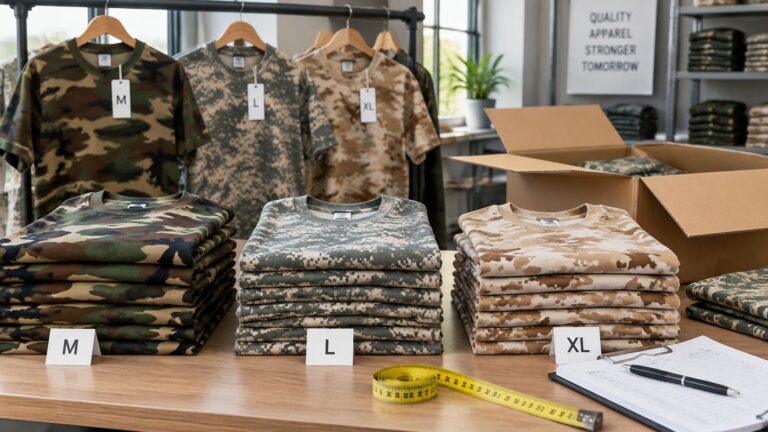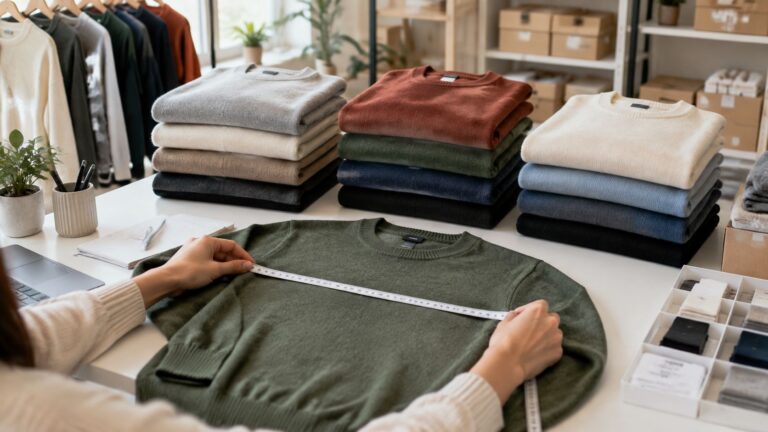
Most advice about how to price clothes for resale starts with the original tag. Halve it, knock off a little for wear, and post the number. That rule survives right up until an item sits for six weeks at what you were sure was a conservative price while a near-identical piece moves in three days at a lower one.
The retail tag describes a different transaction. It records what a shopper paid for something new, in season, box-fresh, with a return window and a receipt. Nobody buying from you gets any of that.
There's a second number the tag never mentions, and it decides whether a sale is worth making: the cash left after commission, shipping, packaging and your share of the box the item arrived in. A $40 sale on one platform and a $40 sale on another aren't the same event, even though the buyer pays the same.
Price from sold data and net cash, not from retail and not from hope. That single substitution changes which items you buy, where you list them and when you cut.
The number you need first isn't a price. It's the sold price of the same garment, in the same condition, on the platform where you plan to list it. That's where the work starts.
Table of Contents
- Why Sold Prices Beat Retail Tags
- How to Calculate Your Floor Price Step by Step
- Platform Fees That Change Your Price
- Adjust Your Price for Condition and Demand
- Splitting Wholesale Box Costs Across Each Item
- Track Sell-Through and Test One Batch
Why Sold Prices Beat Retail Tags
Say a jacket retailed at $98. Clean, tagged, from a brand buyers search for, it might resell for $22 to $35. Worn, in an awkward size, with a broken zip pull, it's a $12 item or a donation. The tag hasn't changed. The market has nothing to do with the tag.
Repricing from retail is the most common way resellers strand inventory. It anchors the seller to a number that describes a retailer's overhead, a season, a marketing budget and a returns policy, none of which travel with the garment.
Then there's the asking-versus-sold confusion. A $40 price that has sat for 60 days isn't evidence of value; it's evidence of an asking price. Active listings tell you what other sellers hope for. Completed sales tell you what buyers paid. Build the anchor from the second list only.
Comparability is where medians go wrong before any arithmetic happens. A Levi's 501 and a Levi's trucker jacket share a label and nothing else: different buyer, different price band, different season. A median blended across both is a wrong number dressed up as research. The same applies to sizes and condition, which is why you split those out before you calculate.
A sold price is a fact. A listed price is an opinion with a photo attached.
Outliers need removing for the same reason. One $120 sale of a rare colorway inside a run of $28 sales pulls an average upward. The median resists that, and dropping the outlier first keeps the median honest. If your comp set is thinner than about five genuine matches, widen the date range before you trust it.
The market anchor answers what's possible. It doesn't answer whether the sale pays you. That's the cost floor, and it's the half most sellers never build.
How to Calculate Your Floor Price Step by Step
A floor price is the number below which a sale costs you money, in cash or in the time the item ties up. Two inputs set it: the sold price of comparable items, and the cash you need out of the sale for it to be worth doing. The steps below follow Voolist's sold-comparable and contribution-margin workflow, which also treats sell-through, meaning items sold divided by items received times 100, as the control metric, with resale operators commonly targeting roughly 60% to 80% within 30 to 45 days depending on category and pricing model.
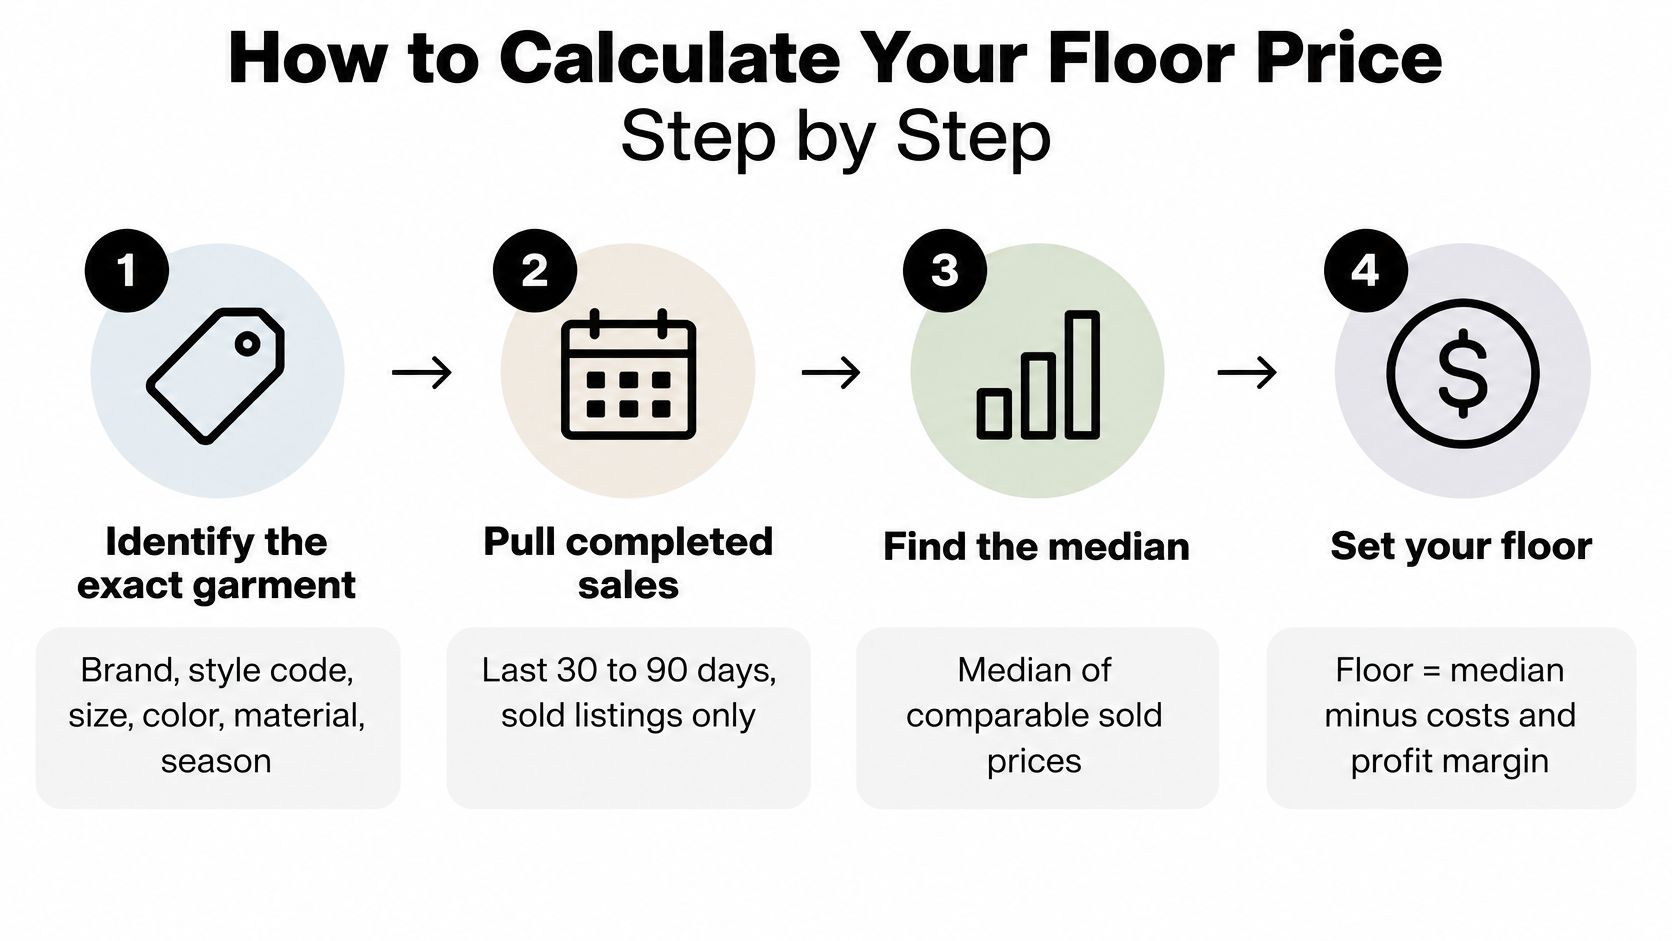
The method compresses into four moves, with the cost work running underneath them.
Seven Steps From Garment to List Price
- Identify the exact garment. Brand, style code, size, color, material and season. Comparables are only comparable when the product matches, and a style code settles arguments that photos can't. The common slip is searching a brand name alone and building a median from five different products.
- Pull completed sales from the last 30 to 90 days on the platform where you'll list. Ignore active listings completely. The slip here is mixing listed and sold prices and calling the result a market.
- Split the results by condition, into new with tags, excellent, good and flawed. A flawed piece competes with other flawed pieces, not with a pristine one. Averaging the two gives you a price that's too high for the damaged unit and too low for the clean one.
- Take the median of the comparable sales after removing outliers. Median beats mean because a single rare colorway can't drag it. The slip is quoting a median from two sales and treating it as certainty.
- Build the landed cost. Your share of the purchase price, inbound freight, cleaning or repairs, packaging, payment processing, marketplace commission, expected offer discounts, and an allowance for returns or unsold stock. The slip is costing the item at the box price and stopping there, which hides every fee that follows.
- Set the starting price at the greater of the market anchor and the margin price, never above the market ceiling. The ceiling is what the top of the comparable range supports, and it protects you from cost-based overpricing when landed cost is high relative to resale value.
- Save the record. Brand, condition, cost, list price and date listed. Reprice on a fixed cadence, weekly is common, and move stale items down in measured steps rather than arbitrary cuts. Without a record, the review turns into memory, and memory flatters.
Practical rule: if the market anchor and your margin price disagree, the market wins on the ceiling and your cost wins on the floor. An item that can't sit between those two numbers doesn't belong in the box next time.
A Worked Floor Price
Take a piece with a $14 landed cost, selling on a platform that takes 15% commission, with a 30% margin target after fees. The required list price is $14 ÷ (1 − 0.15 − 0.30) = $25.45, so you list at $26.
Now check the other input. If the median sold price for that exact garment in that condition is $22, the market has told you the piece doesn't clear your margin on that channel. Listing at $26 and waiting doesn't fix it. Move it to a lower-fee platform, bundle it with something stronger, or accept a thinner margin in exchange for a fast sale.
The formula generalizes to any item: landed cost divided by one minus commission minus target margin. Every fee you expect and every discount you'll accept belongs in that denominator, which is why the fee table comes before the price decision.
Platform Fees That Change Your Price
Two sellers list the same $40 sweater, both sell it this week, and they walk away with different cash. The difference isn't skill, it's the channel's fee structure. The figures below come from Thrift.guide's comparison of resale marketplace fees.
| Platform | Typical seller charge | Extra cost on sales under $15 |
|---|---|---|
| Vinted | 0% | None, the seller charge stays at zero |
| Poshmark | about 20% | $2.95 flat fee |
| eBay | roughly 13% to 15% | No separate flat fee, the percentage applies |
Run the $40 sweater through two of those rows. At about 20%, a Poshmark sale leaves roughly $32 before shipping. The same $40 on Vinted leaves the full $40. That $8 difference is often the entire margin on a mid-priced item, and it's invisible if you only compare list prices.
The same comparison notes that the widely repeated percentage-of-retail ladder, roughly 50% of retail for newer items, 25% for pieces a few years old and 10% for older ones, says nothing about what you keep. It's a starting guess, not a pricing method.
Why the Highest List Price Often Loses
Reverse the math and the problem becomes obvious. To clear $20 on a sale, eBay at 14% needs a list price of about $23.26 ($20 ÷ 0.86). Poshmark at 20% needs $25.00 ($20 ÷ 0.80). Same cash to you, two different numbers on screen. Comparing list prices across platforms compares nothing.
Low-value items are where the arithmetic turns ugly. On a $12 Poshmark sale, the $2.95 flat fee eats close to a quarter of the sale before the percentage even applies. Bundle three tees into one $35 listing and the flat fee shrinks to a small fraction of the transaction, which is why bundling is a fee strategy as much as a merchandising one.
The instinct to list higher on the expensive platform to cover the fee usually backfires. A lower price on a low-fee platform can hand you more cash and faster turnover than a premium price on a high-fee marketplace, because the buyer's total outlay includes shipping either way.
Fees aren't the only deduction. Shipping subsidies, accepted returns, promoted listing charges and offer discounts all come out of the same pot, so budget them before you decide a listing price is acceptable. If most of your volume sits on one marketplace, learn its mechanics properly, and this guide to selling clothes on eBay covers the listing details that affect your final value.
The rule that keeps you honest is to compare net profit per listing, never list price. A $30 sale that nets $24 beats a $45 sale that nets $21 and takes three extra weeks to close.
Adjust Your Price for Condition and Demand
Condition is the one variable you control before the photo. Get the grading right and the price conversation gets shorter.
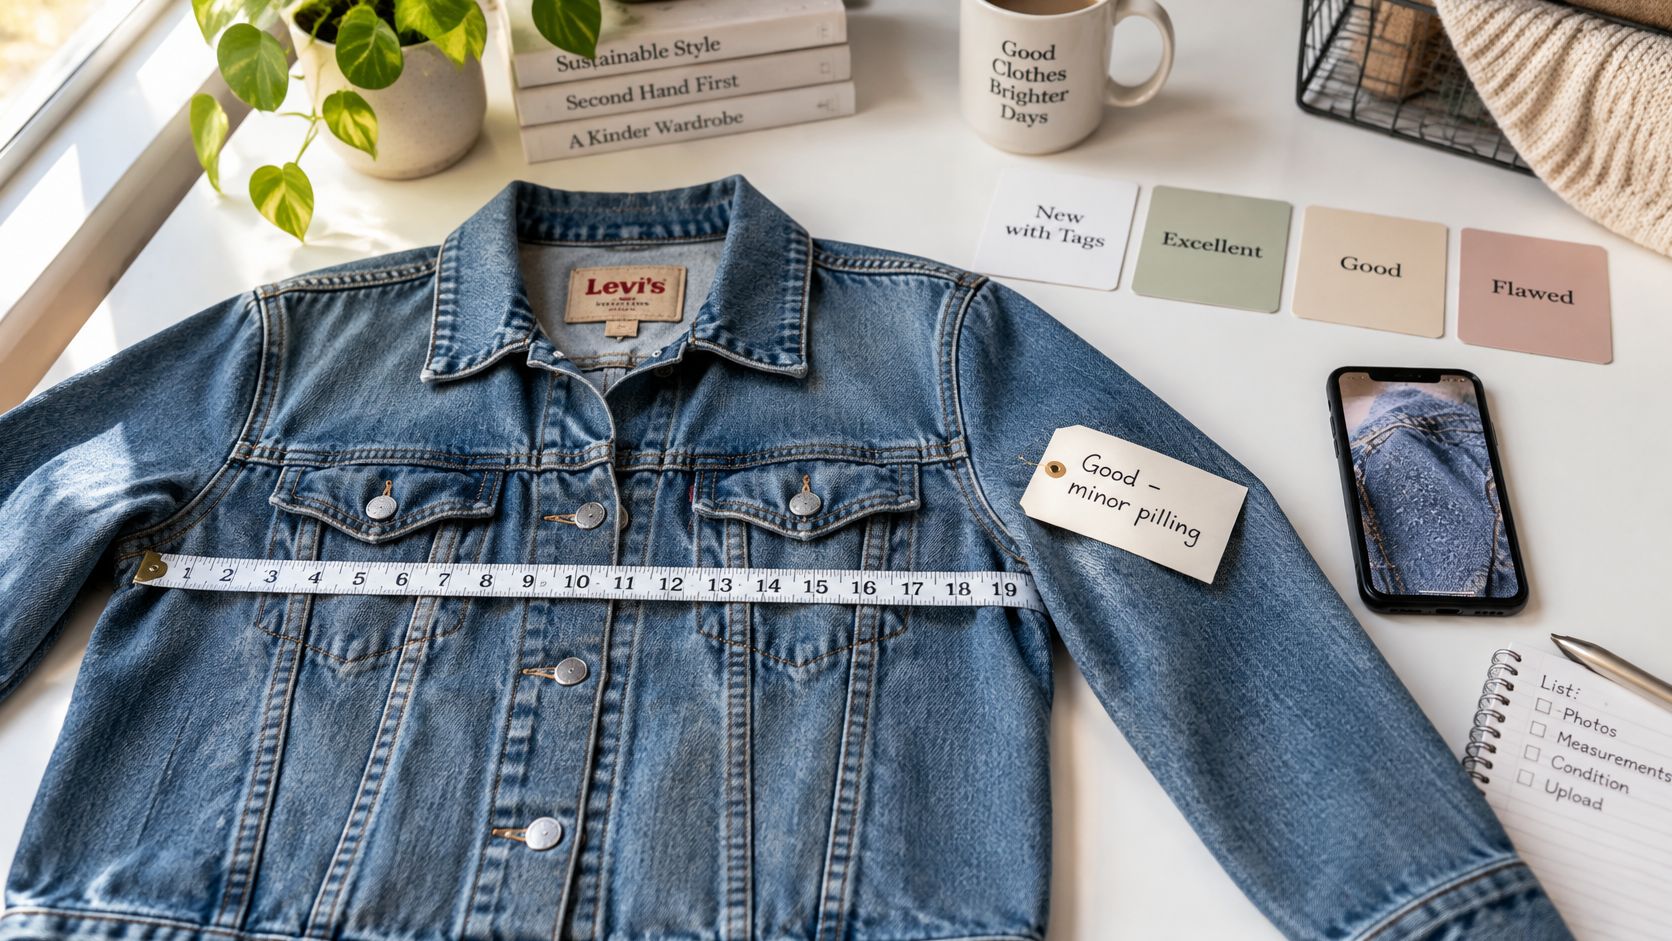
Use one scale every time: new with tags, excellent, good, flawed. Put stains, pilling, odor, missing buttons or belts, alterations and exact measurements into both the description and the photographs. Buyers discount what they can't see, and a returned item costs more than the discount you avoided by hiding a flaw.
Demand Sits on Top of Condition
Once the median is set for the condition band, adjust it for demand signals: brand strength, style scarcity, seasonality, size liquidity, material and whether the style is culturally current. Better condition usually supports a higher price, but a good-condition piece priced lower can sell faster because it reaches a wider buyer pool. Cheap and moving beats premium and parked.
Trend-sensitive stock punishes holding. A documented resale-pricing analysis reported that 68% of micro-trend-linked items lost more than 40% of their peak resale premium within 32 days, as covered in Fashionista's luxury resale reporting, though that source isn't an official marketplace dataset. Treat it as a warning rather than a rule: on trend pieces, review the latest 20 sold listings every two weeks and cut before the style fades.
Resale value is also a perception the buyer carries into the transaction. The Business of Fashion's State of Fashion 2025 coverage projects secondhand apparel at 10% of the global apparel market with a 12% compound annual growth rate toward $350 billion by 2028, and reports that consumers are less likely to buy apparel when they believe it has poor resale value. That's the case for pricing a fading trend for immediate conversion and holding a rare classic near the sold median.
| Days listed | Engagement signal | Action |
|---|---|---|
| 0 to 14 days | Views and saves rising | Hold the price |
| 14 to 21 days | No meaningful engagement | Cut 5% to 10% |
| 30 to 45 days | Still no sale | Cut a further 10% to 15% |
| Past your target hold | Still unsold | Liquidate, bundle or donate |
Two Items, Two Floors
A flawed vintage denim jacket and a viral crop top need different floors and different review dates. The jacket's floor comes from the flawed-condition comp set, its review interval is long, and its likely exit is a bundle with two stronger pieces. The crop top gets a high anchor, a 14-day review and an early cut, because its comp set will be different in a month.
Record which goal you chose on the SKU, either fast conversion or hold for value. The weekly review then judges each item against the right target instead of against a blanket percentage. For brand-level demand signals that shift the anchor up or down, this list of the best brands to resell is a useful cross-check.
Splitting Wholesale Box Costs Across Each Item
A 50-piece box at $350 plus $40 freight costs $390. Divide by 50 and each piece looks like $7.80. Then write off the 8 pieces that are stained, torn or missing pieces you can't replace. Now $390 spread across 42 sellable pieces is $9.29 each. That $1.49 gap is the difference between a real floor and an imaginary one, and it compounds across every SKU in the box.
Equal Allocation Versus Value-Weighted
Equal allocation divides total cost by pieces received. It's fast, it's defensible, and it flattens a mixed box where a branded jacket and a plain tee sit side by side.
Value-weighted allocation splits cost by each item's share of expected sale proceeds. If those 42 pieces are expected to bring in about $1,200, a jacket with a $60 expected sale is 5% of proceeds and carries 5% of the $390, or $19.50. A $12 tee carries $3.90. Both methods are fine if you apply one consistently. What isn't fine is dividing by 50 when only 42 pieces will ever reach a listing.
Whichever you choose, track profit by SKU rather than by box. Box-level totals let slow movers hide inside a good average, and you learn nothing about which brands to reorder.
Cost discipline: the per-sellable-unit cost, not the per-piece average, is the cost floor each SKU carries into its pricing calculation.
Choosing the Box Size
Before you commit to a lot size, model the cost per sellable unit at two or three sizes using your own damage rate. A bigger box at a lower per-item cost only helps if the extra units clear at your sell-through rate. Our minimum order quantity is 50 items, and we may adjust minimum order requirements based on inventory availability and business conditions. You can specify men's, women's or kids items, seasonal preferences, categories such as tops, bottoms, outerwear or dresses, and size ranges when building a box, with requests accommodated based on available inventory. Larger quantities typically receive better per-item pricing, which matters most when the brands inside are ones you've already proven you can sell. If you're still working out how mixed lots behave, this breakdown of buying wholesale clothing lots covers the allocation mechanics in more detail.
Track Sell-Through and Test One Batch
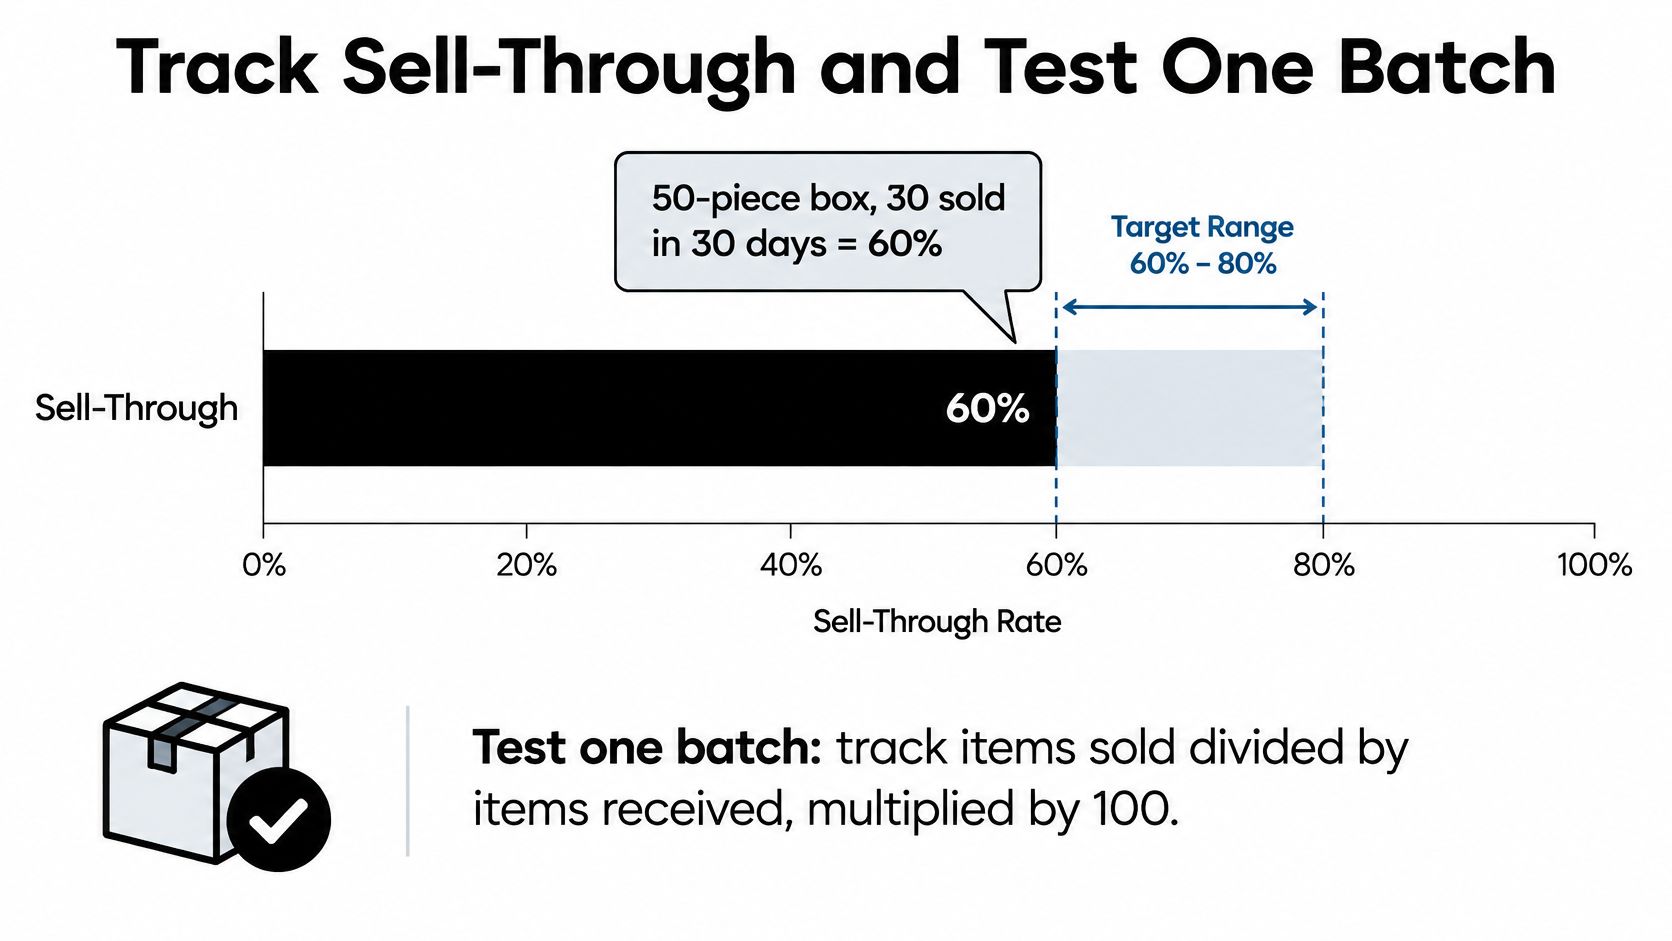
Sell-through is items sold divided by items received, multiplied by 100. A 50-piece box where 30 pieces sell in 30 days is at 60%. That number, not revenue, tells you whether your pricing is working, because revenue can look healthy while half the box ages on a shelf.
What the Weekly Review Records
Set a fixed review day and work the same list every week. For every sale, log:
- Identity and condition: brand, style, size, condition grade.
- Cost basis: acquisition cost including allocated box cost and freight.
- Channel: platform, list price, realized price.
- Timing: days listed, days to sale.
- Result: net contribution after fees, packaging and any discount.
Pull views and saves alongside the sales data. They're leading indicators, and a discount made without checking them is a guess with a price tag on it. Move stale pieces down in measured steps rather than making ad hoc cuts, and compare sell-through by SKU group rather than across the whole inventory.
Run One Batch Through the Method
Take 20 pieces from a small box or your own rail, run the floor-price steps on each SKU, and list at the calculated prices. After 45 days, compare realized price to the floor for every piece. Buy more of a brand or category only when net contribution is positive across the group, not when one lucky sale covered the losses on five quiet ones.
Working threshold: a brand that moves 90% of its units in two weeks earns a bigger share of the next order. A category still under 50% after two review cycles gets smaller or gets cut.
Treat those numbers as working guidelines to test against your own category and price point, not as universal rules. The log is what makes them meaningful, because it ties each result to a brand, a condition grade and a platform instead of a vague feeling about what sells.
When your data points to brands we don't have in a standard box, tell us your budget and the brands you want, and we'll tailor a box or pallet around them through a custom quote. Pricing reflects the brands selected, current inventory, quantity ordered and market conditions, and the quote carries no hidden fees. For a walkthrough of the routine, from sorting through listing to the weekly review, the video below covers it.
The batch that survives this test is the one you repeat, and the pricing method only proves itself once you've run it on your own inventory rather than someone else's spreadsheet.
OneTrendyCloset supplies brand-name apparel in liquidation boxes and custom lots for resellers who price from net cash rather than from the tag, with a 50-item minimum and quotes built around the brands and quantities you want. Tell us your budget, your categories and the brands your sell-through data supports, and we'll put together a quote with no hidden fees. Visit OneTrendyCloset to see current box options and request pricing for your next restock.