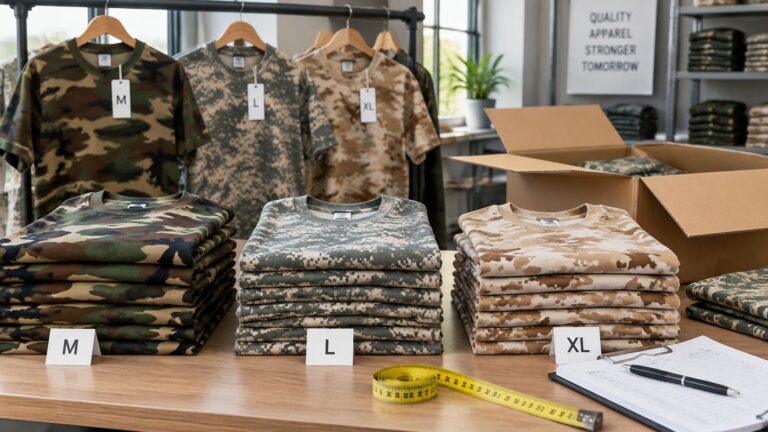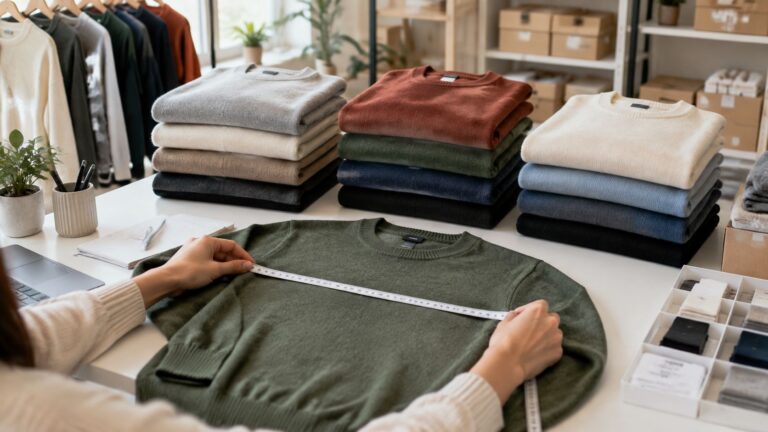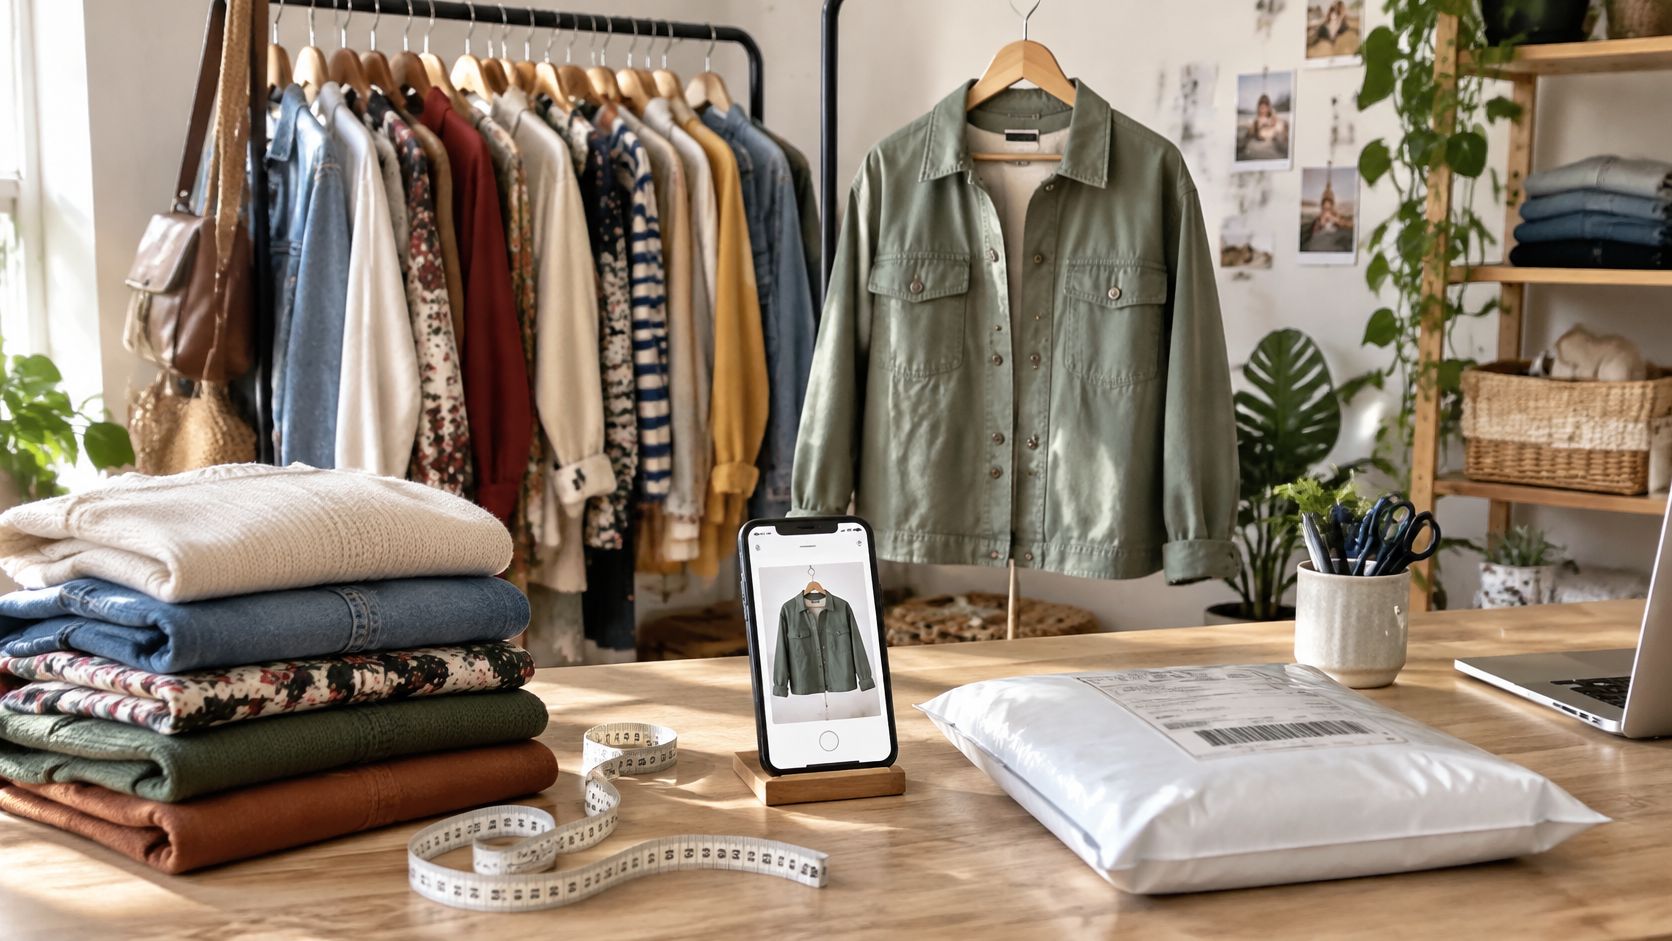
You've got a pile of clothes on the spare bed, a few recognizable labels, and the feeling that some of it must be worth selling. Then you start checking prices, weighing parcels, and answering questions about sleeve length. Suddenly, clearing out a wardrobe looks like running a small stockroom.
Learning how to sell used clothes online means learning which garments deserve that work. Judge each item by net profit per labor hour, after fees, shipping, cleaning, and return losses, rather than its original retail price. A profitable reseller doesn't list everything. They choose what to list individually, what to bundle, and what to let go.
Table of Contents
- Source and Clean Used Clothes Before Listing
- Choose the Platform That Fits Your Stock
- How to Inspect, Grade and Measure Each Garment
- How to Photograph and Write Listings Buyers Trust
- How to Price Each Item for Real Profit
- How to Pack and Ship Without Losing Margin
- Scale From Test Batches to Liquidation Boxes
- Decide Whether a Liquidation Box Fits Your Business
Source and Clean Used Clothes Before Listing
Start with stock you can inspect cheaply. Thrift stores and estate sales let you choose individual pieces; bags from friends offer inexpensive inventory but require more sorting. Only source through clothing drives when the organizer explicitly permits resale.
Curated wholesale lots can reduce shopping time, but you're committing money before handling each garment. When comparing loose stock with bulk purchases, understand how used clothing by the bale changes sorting, storage, and usable yield.
Work From Intake to Clean Stock
Log the source before sorting. Record the purchase total and allocate it across the pieces you realistically expect to sell. Dividing the bill across every garment makes a poor-quality lot look cheaper than it is.
Pull out stained, musty, damaged, or unidentified pieces before starting a wash load. Read the care label, separate colors, and test dark denim on a concealed seam with a damp white cloth before washing.
Treat odor without masking it. Air suitable garments in a dry, ventilated space, then launder as the label permits. Don't soak delicate fabrics in improvised solutions or cover persistent smells with perfume.
Treat stains only with a fabric-compatible product, tested out of sight first. Record supplies, repair work, and professional cleaning in the intake sheet, then steam or press clean garments at the appropriate temperature.
Cleaning isn't automatically a good investment. A wool coat might justify professional attention; an ordinary tee with an uncertain stain usually doesn't.
Practical rule: Don't spend money rescuing a garment until its likely selling price justifies the rescue.
Margin check: Keep clean, desirable pieces for individual listings. Bundle serviceable basics when shared preparation makes the work worthwhile. Donate clean, usable items with weak resale economics, and use an appropriate textile-recovery route for pieces that aren't wearable.
Choose the Platform That Fits Your Stock
The platform you pick decides two things: how much of each sale you keep, and how much work each listing costs. Match the fee structure and buyer type to your stock before you open an account.
Platform fit and how sellers are charged
| Platform | Best fit | How sellers are charged | Typical buyer |
|---|---|---|---|
| Poshmark | Branded and designer fashion, dresses, outerwear | Commission deducted from the sale price | Fashion-focused shoppers |
| eBay | Vintage, branded and hard-to-find items; auctions | Category-based selling fee plus a fixed per-order charge | Search-driven buyers hunting specific items |
| Mercari | Everyday brands at lower prices | Selling fee plus a payment-processing charge | Budget-focused casual buyers |
| Depop | Vintage, streetwear and youth fashion | Selling fee plus payment processing, with terms that vary by seller location | Younger, social-first shoppers |
| Whatnot | Live-sale bundles and batches | Category commission plus a payment-processing charge | Live-auction buyers |
| ThredUp | Accepted mid-range brands on consignment | Consignment payout paid as a share of the final sale price | Buyers wanting a curated assortment |
Rates change, so confirm the current schedule inside each platform before you set prices. Check whether the charge applies to shipping, discounts, or other parts of the transaction, because that changes your net per order even when the headline structure looks the same.
Global secondhand apparel sales reached an estimated $227 billion in 2024, approximately 9% of worldwide apparel spending, according to GlobalData's market sizing in the ThredUp Resale Report. Demand exists, but that doesn't make every marketplace equally useful for your stock.
Match the Buying Method to the Garment
I'd start searchable branded denim, such as Levi's 501 jeans, on eBay or Poshmark rather than putting it straight into a live show. A buyer can search the model and compare the exact garment. If Poshmark fits your assortment, this guide to starting on Poshmark walks through the setup.
Mixed kids' tees present a different problem: too much transaction work for each garment. A size-matched bundle on Mercari or an established Whatnot show is a more sensible test than separate listings. Live selling also requires preparation and an audience, not just stock.
Start with a single platform and a coherent segment. Track realized price, selling time, and actual workload before adding another account.
Margin check: List individually where buyers search for your item's distinguishing features. Bundle where transaction costs overwhelm the garment's value. Donate usable stock that doesn't justify either route.
How to Inspect, Grade and Measure Each Garment
Inspection needs to be repeatable, not dependent on how promising a label looks. Keep a tape measure, bright task light, lint roller, and inventory sheet beside the intake surface.
Use this workflow before an item reaches the listing queue.
Build a Defensible Condition Record
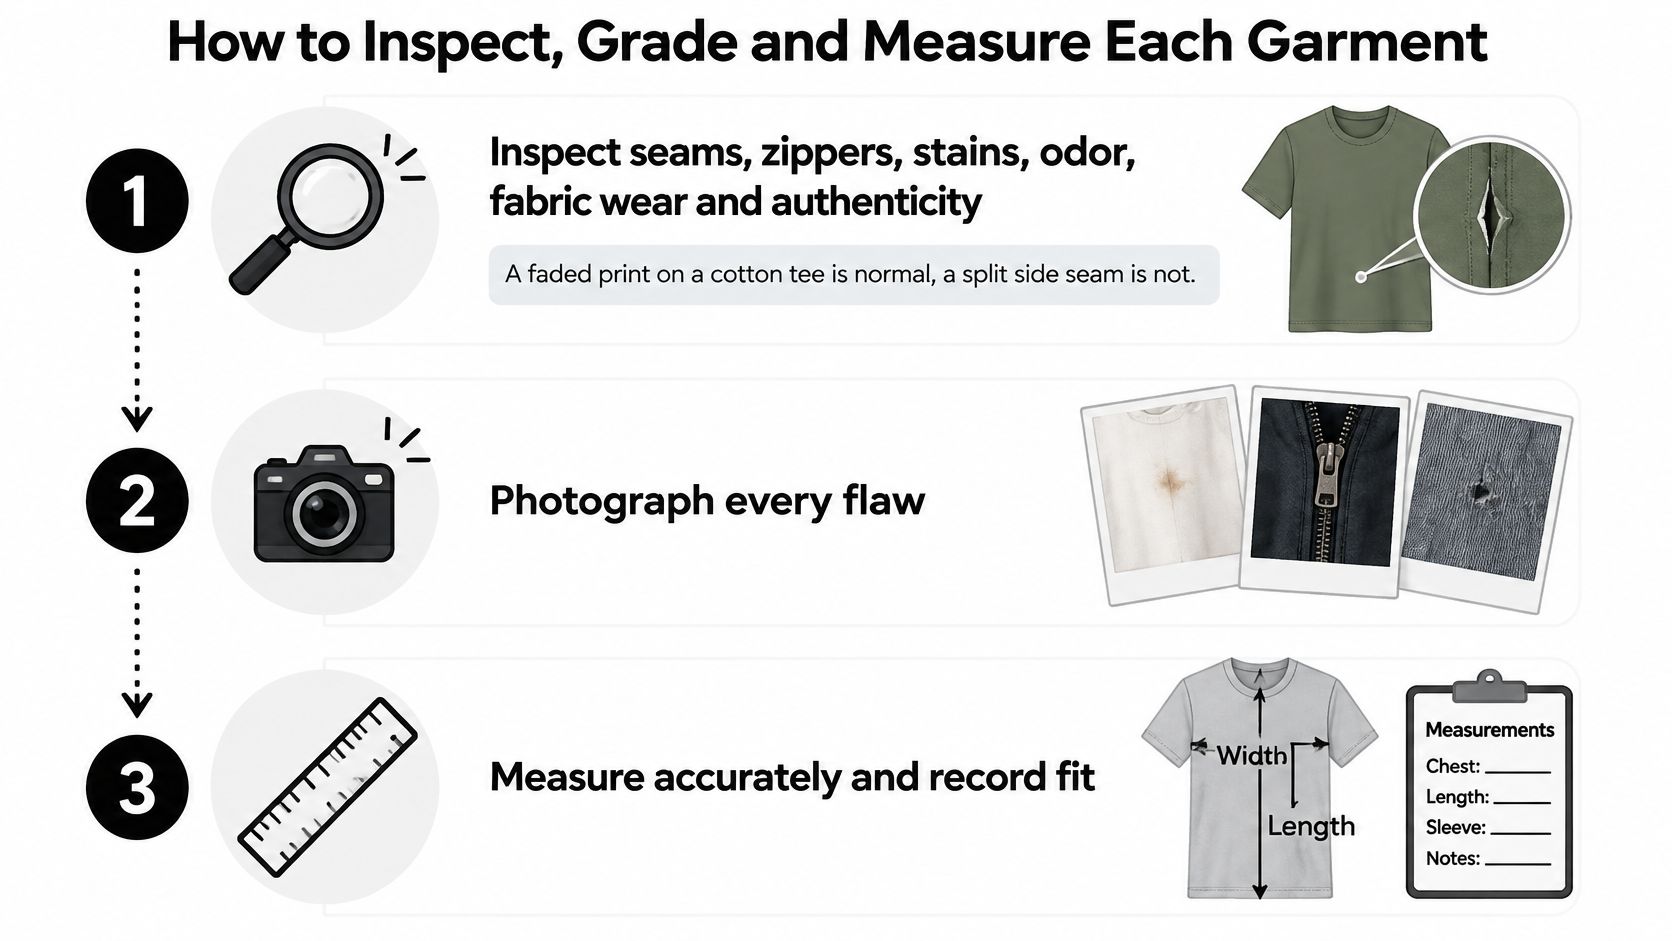
Inspect inside and out. Check seams, underarms, cuffs, pockets, elastic, zippers, fasteners, odor, and fabric wear. A faded cotton print can be acceptable wear; a split seam needs repair or explicit disclosure, and uncertain authenticity needs resolution before listing.
Photograph defects while they're easy to find. Include a wider view locating the flaw and a close-up showing its extent, rather than relying on a description that the buyer must interpret.
Record identity and construction. Capture brand, model or style, tagged size, fabric content, and care instructions. Don't guess at missing information or call something vintage merely because it looks old.
Measure the garment flat without stretching it. For tops, record pit-to-pit, shoulder, sleeve, and length; for trousers, use waist, rise, inseam, and relevant leg measurements, noting where each measurement starts and ends.
Assign a consistent condition grade. Use the marketplace's definitions first, then describe the actual wear in ordinary language. Excellent shouldn't mean good except for a stain, and fair shouldn't hide a defect that makes the garment unusable.
Give the item a unique SKU, or stock-keeping identifier, and complete its intake row. Include acquisition, preparation, packaging, storage location, and the intended selling route.
The reason to preserve this record isn't bureaucracy. eBay's seller guidance recommends clear photographs and accurate item information to set expectations and reduce description-related problems.
Make the Spreadsheet Usable
A finished row should connect the SKU to its photo folder, measurements, grade, costs, and storage location. Use separate columns rather than burying everything in a notes cell, so you can filter garments awaiting repair or measurements.
Don't turn a missing size label into an automatic rejection if the marketplace permits an accurately described untagged garment. Equally, don't substitute a confident size guess for measurements.
A condition grade is a summary. The defect record is the evidence.
Margin check: List a garment alone when its condition and identity support a worthwhile sale. Bundle compatible lower-value pieces with individually disclosed flaws. Donate wearable items whose remaining preparation would consume the likely return.
How to Photograph and Write Listings Buyers Trust
A weak listing leaves the buyer to do the inspection remotely. A useful listing answers the questions they'd ask while holding the garment.
A sweater photo set should show its shape, texture, labels, and defects, not just an attractive front view.
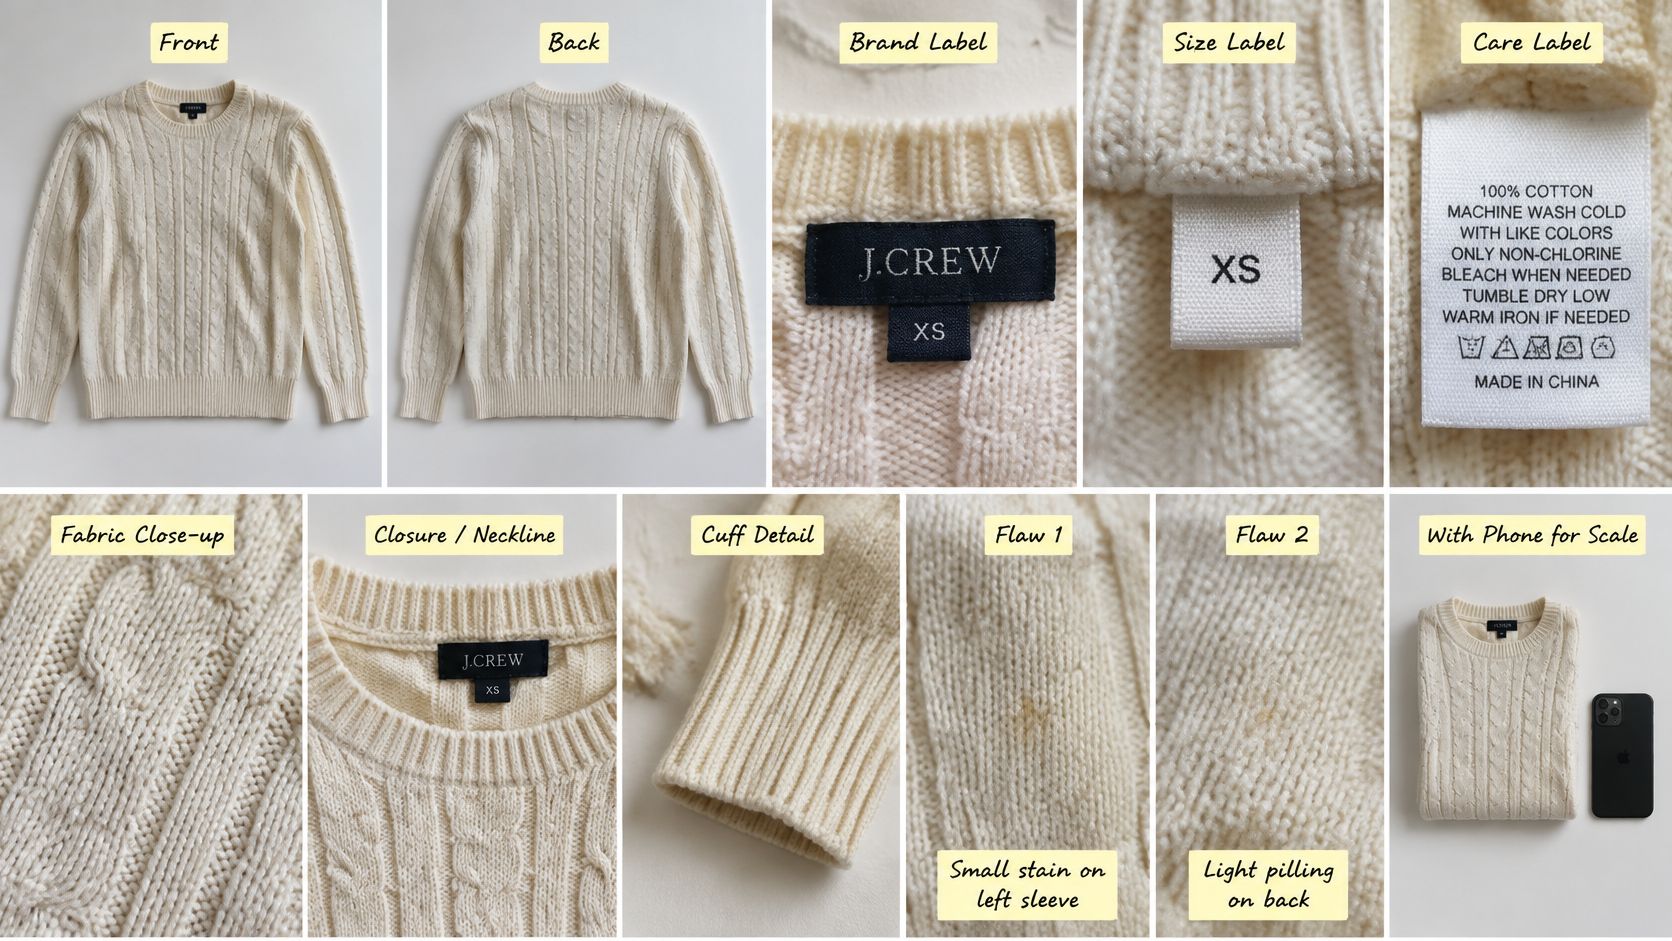
Show What the Buyer Needs to Evaluate
Use a plain background and consistent daylight-balanced lighting. Avoid mixing window light with yellow overhead bulbs, and don't apply filters that change the fabric color.
Build a repeatable photo sequence:
- Whole garment: Front and back, with sleeves and hems visible.
- Identification: Brand, size, fabric, and care labels.
- Construction: Texture, lining, closures, and distinctive details.
- Condition: Wear, repairs, stains, and missing components shown clearly.
A hanger works for many jackets and dresses. Flat-laying knitwear avoids distorting shoulders, while a close-up can show whether apparent texture is part of the knit or surface wear.
Replace Vague Praise With Useful Detail
A weak description might call something a vintage jacket in great condition, size medium. That leaves age, fit, material, and wear unresolved.
A stronger version identifies the brand and garment, records the tagged size, puts your measured dimensions near the top, and explains the fading at the collar or repaired pocket seam. Don't promise that detail guarantees a higher price; it lets buyers make a better-informed decision.
Use this title order as a starting point:
Brand + garment type + model or style + intended department + tagged size + color + distinguishing feature
For example, Patagonia Better Sweater Fleece, Men's Medium, Navy, Full Zip gives a shopper useful search terms without filler. Complete applicable item-specific fields too, especially those buyers can filter.
For a visual demonstration of the listing workflow, watch the walkthrough below.
Keep the description factual. Fabric feel, stretch, lining, and construction matter more than a paragraph of styling adjectives.
Margin check: Give distinctive garments complete individual listings. Photograph coordinated bundles together, with enough detail to evaluate each piece. Donate usable items that would need an elaborate sales pitch to justify a low return, and write the flaw before the buyer finds it.
How to Price Each Item for Real Profit
Minimum sale price = (total variable costs + target profit) ÷ (1 − fee rate).
Use this simplified formula only when the fee behaves like a percentage of the sale price. Add fixed transaction charges to costs, and adjust the calculation when a platform charges fees on a broader amount.
Your costs should include acquisition, cleaning, repairs, packaging, shipping subsidy, and an allowance for unrecovered return expenses. The Industria Textila paper on clothing resale identifies preparation effort, pricing, and returns among seller challenges, which is why gross sales alone aren't a useful profitability measure.
A Hypothetical Pricing Worksheet
The following figures are illustrative inputs, not market prices or a quoted platform fee. Each minimum is rounded upward so the example clears its target.
Minimum sale price for three sample items at an assumed 13% fee
| Item | Variable costs | Target profit | Minimum price at assumed 13% fee |
|---|---|---|---|
| Branded denim jacket | $11.50 | $15.00 | $30.46 |
| Kids graphic tee, bundle piece | $6.00 | $10.00 | $18.40 |
| Vintage wool coat | $20.00 | $25.00 | $51.73 |
The jacket calculation divides its combined costs and target by the proportion retained after the assumed fee. The coat follows the same method, but its preparation costs make the required selling price higher.
For the tee, the result is a warning to examine the whole bundle's economics. A per-piece target that buyers won't support doesn't become realistic just because the garment joins a bundle.
Put Time Beside Money
Net profit per labor hour = profit before paying yourself ÷ active labor hours.
Count sourcing, preparation, photographs, messages, packing, and return handling. Alternatively, put a labor charge into your cost calculation and treat the target as additional business profit, but don't charge for the same time twice.
Compare your minimum with sold listings that match condition, model, and other meaningful details. Active asking prices tell you what sellers want, not what buyers paid.
Margin check: List when comparable sales support your required price. Bundle when shared labor improves the return. Donate wearable stock when neither a plausible price nor a different selling format clears your personal earnings target.
How to Pack and Ship Without Losing Margin
If the buyer's shipping payment doesn't cover postage, the difference is your shipping subsidy. Put that gap into the item's economics before accepting an offer, not after buying the label.
A coat and a lightweight top need different shipping estimates. Weight matters, but so do packed dimensions, destination, and the service you're using.
Build the Parcel Before Buying Postage
Keep a small packing station with:
- Appropriate outer packaging: A durable mailer for flexible garments or a fitted box for pieces that need structure.
- Moisture protection: A clean sealed inner bag, without packing damp fabric.
- Shape protection: Tissue where useful, without unnecessary bulk.
- Secure closure: Packing tape, a readable label, and a packing slip when appropriate.
Fold the garment, add its actual packaging, then weigh and measure the finished parcel. Check available platform postage against eligible alternatives, and follow the label's packaging requirements rather than assuming any branded mailer will work.
Choose a handling time you can consistently meet. Use a daily orders planner to group paid orders, label checks, dispatch tasks, and tracking updates so rushed packing doesn't become your normal workflow.
Price the Return Exposure
A return's unrecovered cost can include outbound postage, seller-paid return postage, damaged packaging, nonrefunded charges, and handling time. Don't automatically count the full garment value as a loss if you receive it back in resalable condition.
For your return allowance, use your own history when available: the share of orders returned multiplied by the average unrecovered cost per return. Until you have that history, compare the outcome with and without a return rather than inventing a reassuring rate.
Before accepting an offer: Check the packed shipment, not your memory of what similar parcels cost.
Publish a clear return policy within the platform's rules. You can decide how to handle discretionary fit returns where permitted, but a seller-written policy doesn't override marketplace buyer protections or applicable law.
Margin check: Recalculate the accepted offer using actual postage and packaging. List or keep offers open only when the resulting profit is worthwhile; bundle future low-value stock where combined shipping helps, and donate usable pieces that remain uneconomic.
Scale From Test Batches to Liquidation Boxes
More stock helps only when you know what to do with it. A crowded storage room isn't evidence that the business is growing profitably.
Online resale grew 23% in the United States in 2024, according to GlobalData figures reported in ThredUp's resale-market announcement. That supports testing the channel, not buying indiscriminately.
Run a Controlled Inventory Test
Start with a manageable batch split by buyer intent, such as vintage denim, branded workwear, occasionwear, plus-size basics, or streetwear. Keep preparation standards consistent so you're comparing segments rather than good photographs against poor ones.
Use the test-to-scale sequence below as an inventory planning guide.
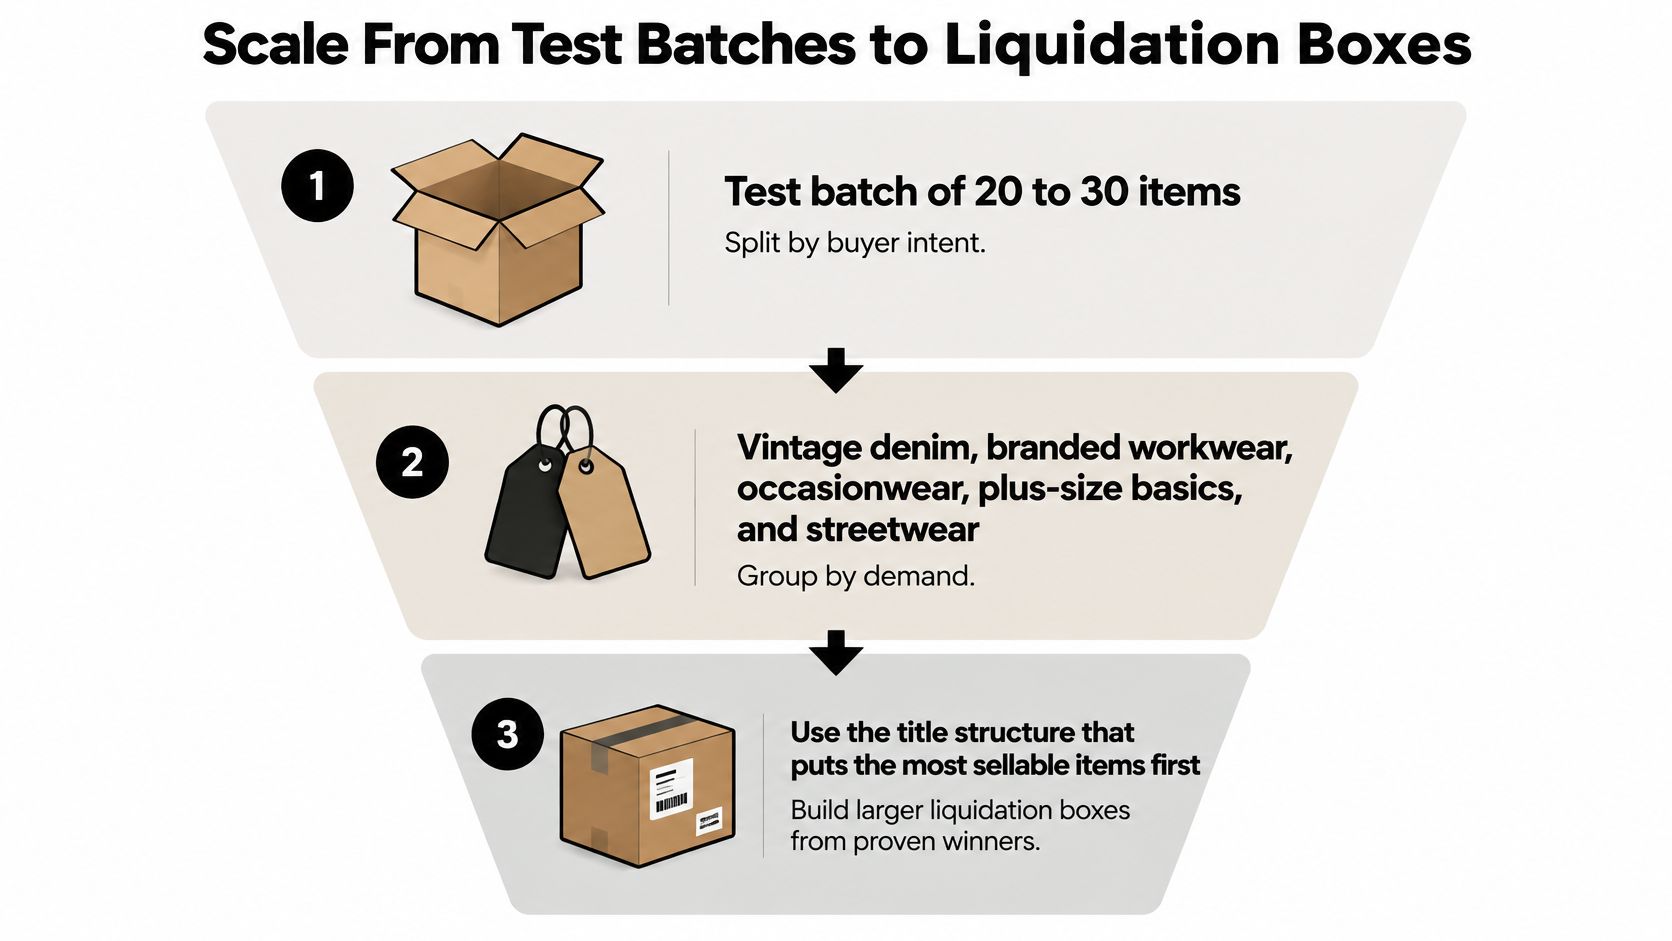
Read the results at different stages of the sale:
- Visibility: Impressions show whether shoppers are encountering the stock.
- Interest: Click-through, saves, watchers, and offers show whether the listing attracts consideration.
- Sales: Conversion, days to sale, and realized price reveal whether interest becomes payment.
- Economics: Contribution margin and profit per labor hour determine whether the segment deserves more capital.
Don't discard a category merely because an unseen listing hasn't sold. Check category placement, searchable details, photographs, and price before deciding that demand is weak.
Expand Without Losing Inventory Control
Cross-list only when measurements, condition wording, photos, SKU mapping, and stock quantity are organized. Maintain a central availability record and remove sold stock promptly from other channels.
Set markdown reviews around your storage limits and cash needs. Each reduction still needs to clear an acceptable outcome; automatic discounting isn't a substitute for deciding when to exit a poor purchase.
Avoid these traps:
- Generic copying: Adapt marketplace fields and presentation instead of pasting an incomplete listing everywhere.
- Ignoring channel costs: Recalculate for the destination platform's fee and shipping rules.
- Chasing revenue: A busy live show or growing sales total can still leave little compensation for your work.
Margin check: Reorder segments that repeatedly deliver acceptable earnings. Bundle slow but compatible inventory to release time and space. Donate wearable stock that has failed a fair test rather than repeatedly spending labor trying to recover a sunk cost.
Decide Whether a Liquidation Box Fits Your Business
A liquidation box makes sense when it supplies a proven segment more efficiently than your current sourcing method. It doesn't solve weak pricing, slow preparation, or uncertainty about what your buyers want.
Answer the Buying Questions First
- How long does each item take? Include the entire path from acquisition through dispatch, not just the listing session.
- What do individual listings earn per labor hour? Use completed transactions after expenses, including unsuccessful preparation work.
- How much assortment control do you need? A denim-focused store has less room for an unrelated mix than a broad live-sale operation.
A curated box can reduce sourcing time, but it won't necessarily reduce inspection or selling work. Compare the landed purchase cost with the number of pieces you reasonably expect to sell, allowing for unsuitable stock and slower categories.
At OneTrendyCloset, we sell wholesale brand-name apparel in liquidation boxes to boutiques, online sellers, and resellers. You can specify men's, women's, or kids' items, seasonal preferences, categories, and size ranges, subject to available inventory; for a custom box or pallet, we use your budget and preferred brands to prepare a personalized quote.
Compare the Likely Contents With Actual Sales
Before committing, take a representative sample of likely garments and calculate their required selling prices. Compare those prices with your own test-batch results, including the less desirable pieces rather than selecting only the strongest labels.
Margin check: Buy for segments that already earn your target. Plan bundles for predictable lower-value contents, and allow for unsellable stock in the purchase decision instead of treating donation as a surprise.
This week, build that sample worksheet before requesting a quote. If the likely assortment can't clear your target after freight, preparation, and selling time, keep your money available for better-matched inventory.
OneTrendyCloset offers wholesale brand-name apparel liquidation boxes and custom quotes for resellers who know the stock they need. Visit OneTrendyCloset with your budget, preferred brands, and proven selling categories, then compare the proposed purchase against your margin worksheet before ordering.